Dental Instruments: A Comprehensive Guide with Pictures and Names
This guide details essential dental tools, including chairs with motorized suction, compressors, and RVG-compatible digital X-ray units, alongside scalers and rotary instruments like KaVo Multiflex․
Dental instruments are specialized tools meticulously designed to facilitate the diagnosis, treatment, and maintenance of oral health․ A comprehensive understanding of these instruments – their specific applications, proper handling, and sterilization protocols – is paramount for all dental professionals․ This guide serves as an introductory resource, offering a detailed overview accompanied by illustrative pictures and names, often available in downloadable PDF formats for convenient reference․
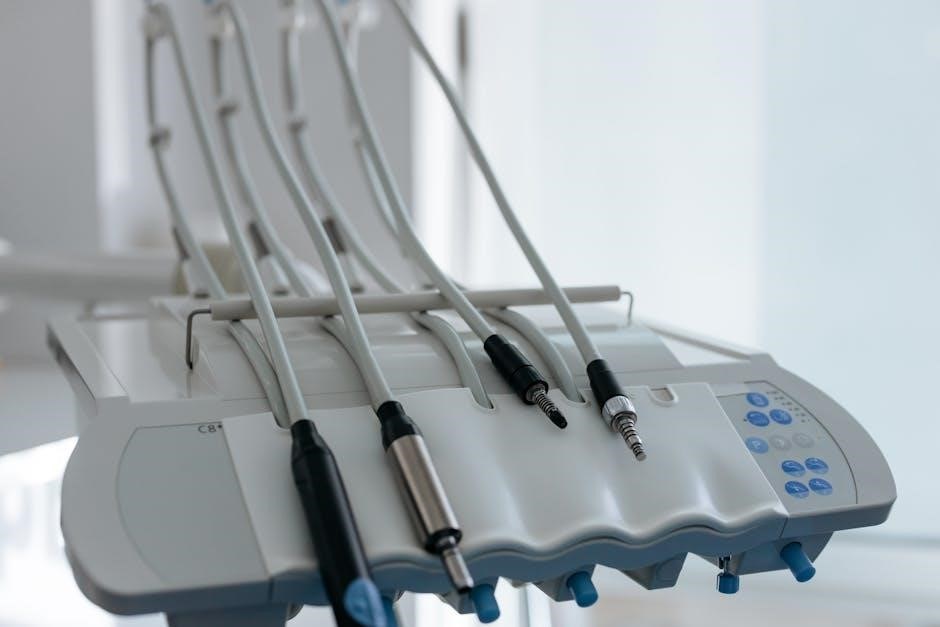
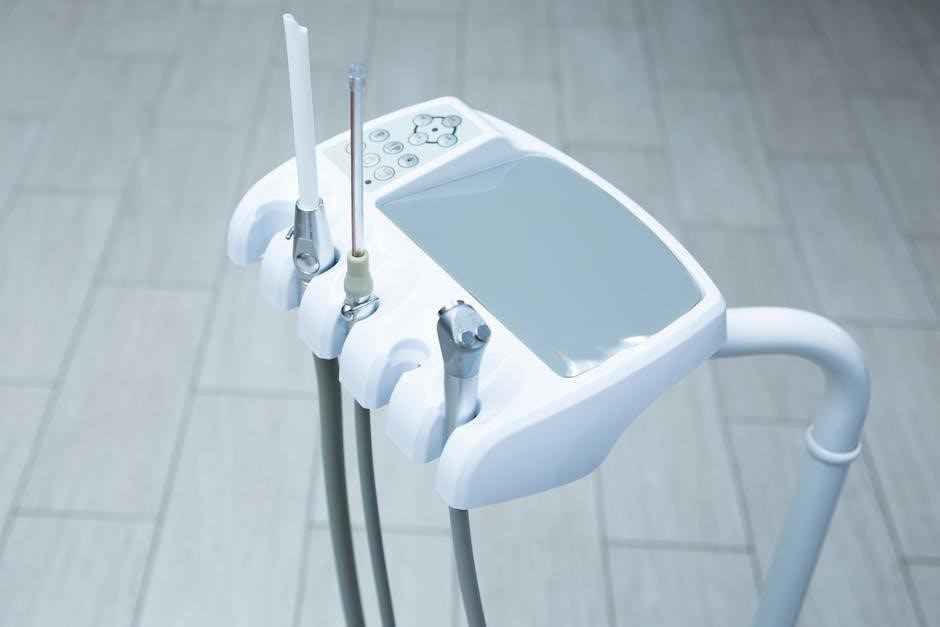
The modern dental clinic relies on a diverse array of equipment, ranging from fundamental hand instruments to sophisticated digital technologies․ Essential components include dental chairs equipped with motorized suction, reliable air compressors, and advanced digital radiography units compatible with RVG (RadioVisiography) systems․ Furthermore, rotary instruments, such as those manufactured by KaVo and NSK, play a crucial role in various procedures․
Understanding the purpose of each instrument, alongside its correct nomenclature, is vital for effective communication and precise clinical practice․
II․ Basic Hand Instruments
Basic hand instruments form the foundation of dental practice, requiring manual dexterity and precise control․ These tools, often depicted in detailed pictures within downloadable PDF guides, are categorized primarily into examination and cutting instruments․ Examination instruments, such as explorers and probes, aid in diagnosing oral conditions, while cutting instruments – including chisels and hoes – are utilized for tooth preparation and caries removal․
Proper identification of each instrument by name is crucial for efficient treatment planning and execution․ These instruments, though seemingly simple, demand a thorough understanding of their specific designs and intended uses․
The selection of appropriate hand instruments is dictated by the clinical situation and the dentist’s preference․ Resources detailing instrument pictures and names, often available as PDFs, are invaluable for students and practitioners alike, ensuring correct application and minimizing patient discomfort․
A․ Examination Instruments
Examination instruments are vital for the initial assessment of a patient’s oral health․ Commonly found illustrated in dental instrument pictures and names PDFs, these tools allow clinicians to gather crucial diagnostic information․ Explorers, with their pointed tips, are used to detect caries and calculus, while periodontal probes measure pocket depths to assess gum health․
Mirrors provide indirect vision of otherwise inaccessible areas, and tweezers facilitate tissue manipulation․ Understanding the specific purpose of each instrument, as detailed in comprehensive guides, is paramount․
Correct usage minimizes patient discomfort and ensures accurate diagnoses․ PDFs often include detailed images showcasing proper grip and angulation․ Mastering these instruments requires practice and familiarity with their individual characteristics, ultimately contributing to effective patient care and treatment planning․
B․ Cutting Instruments
Cutting instruments are essential for removing diseased or damaged tooth structure during various dental procedures․ Dental instrument pictures and names PDFs frequently showcase a range of these tools, from hand instruments like chisels and hatchets used for initial tooth reduction, to more refined instruments like spoons and hoes for caries excavation․
These instruments require precise control and technique to avoid unnecessary tooth structure removal․ Rotary cutting instruments, including burs used with high and low-speed handpieces, offer greater efficiency and precision․

Understanding the different shapes, sizes, and materials of cutting instruments, as illustrated in detailed guides, is crucial for selecting the appropriate tool for each clinical situation․ Proper sharpening and maintenance are also vital for optimal performance and longevity․
III․ Rotary Instruments
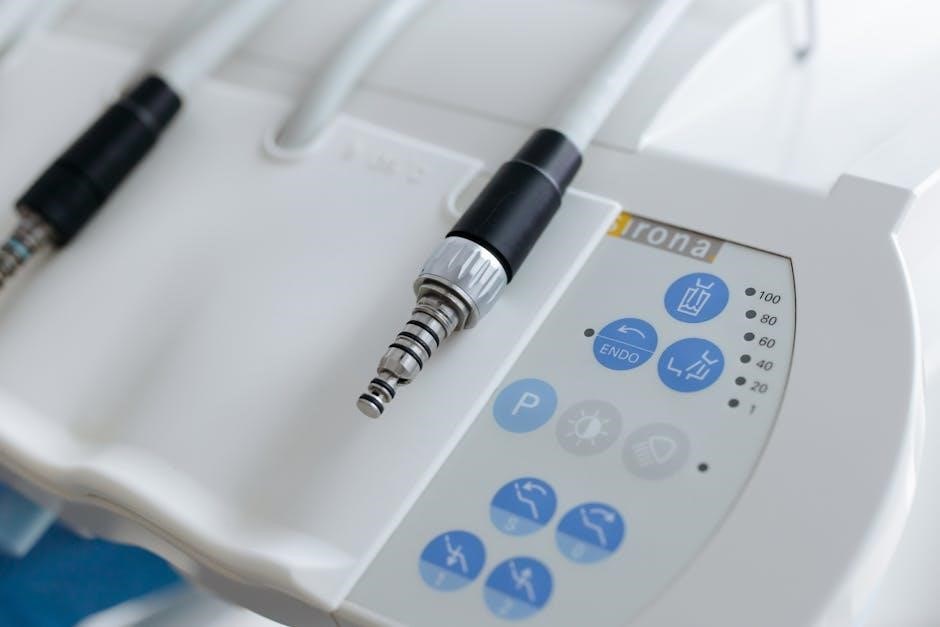
Rotary instruments are powered by air or electric handpieces, significantly enhancing efficiency in dental procedures․ Dental instrument pictures and names PDFs highlight the two primary types: high-speed and low-speed․ High-speed handpieces, often coupled with burs, excel at tooth reduction and cavity preparation, achieving precise results quickly․ Conversely, low-speed handpieces, also utilizing burs, are ideal for polishing, finishing, and more delicate procedures․
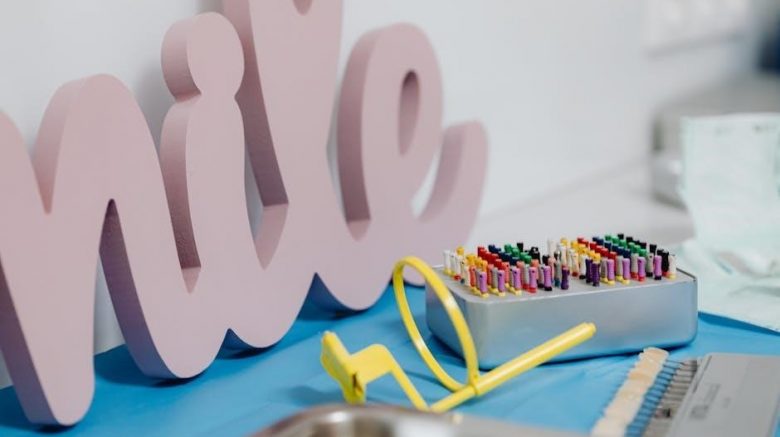
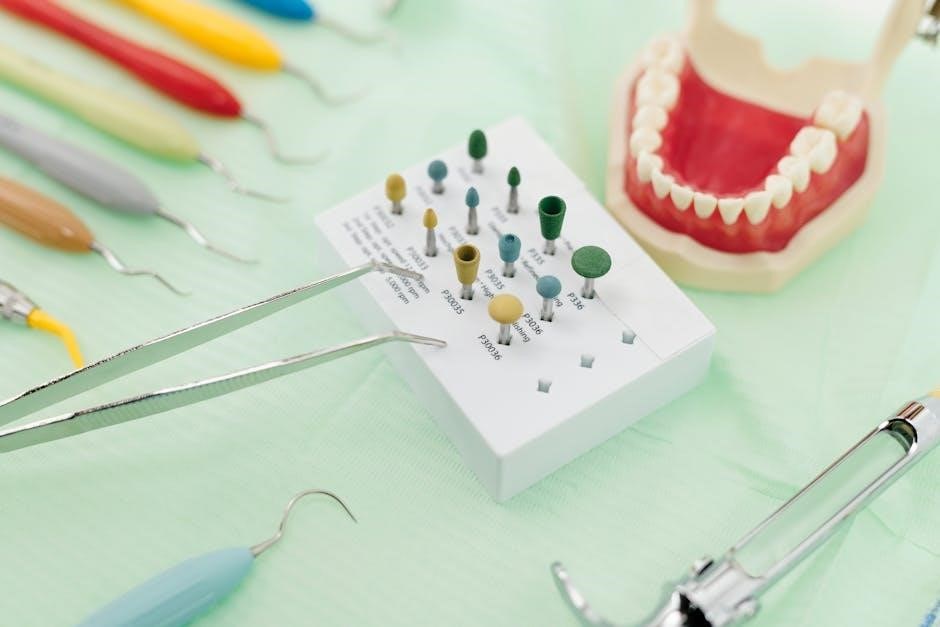
Burs come in diverse shapes – round, pear-shaped, cone-shaped – and materials, each suited for specific tasks․ Disposable polishettes, often found in sets, are used for polishing dental surfaces․
Understanding the RPM (revolutions per minute) and torque capabilities of each handpiece, alongside proper bur selection, is crucial for effective and safe operation, as detailed in comprehensive instrument guides․
A․ High-Speed Handpieces & Burs
High-speed handpieces are fundamental for rapid tooth structure removal, operating at 300,000 to 450,000 RPM․ Dental instrument pictures and names PDFs illustrate various models like KaVo Multiflex and NSK Mach, renowned for their power and precision․ These handpieces necessitate burs for functionality; burs are miniature rotating cutting tools․
Burs are categorized by shape (round, pear, cone), shank type (straight, latch), and material (carbide, diamond)․ Carbide burs are effective for enamel and dentin, while diamond burs excel at finishing and polishing․ Proper bur selection, based on the procedure and tooth structure, is paramount․
Safe operation requires adequate cooling – typically air/water spray – to prevent heat generation and maintain bur integrity․ Detailed guides emphasize correct angulation and light pressure for optimal results․
B․ Low-Speed Handpieces & Burs
Low-speed handpieces, operating between 3,000 and 30,000 RPM, are versatile tools utilized for a range of procedures including polishing, cavity preparation, and adjusting restorations; Dental instrument pictures and names PDFs often showcase models like NSK QD, highlighting their ergonomic designs and adaptability․ Unlike high-speed counterparts, low-speed handpieces employ a wider variety of attachments․
These attachments include prophy angles for polishing, and various burs for finishing and smoothing․ Disposable polishette sets, frequently used for polishing, are commonly available․ Burs for low-speed handpieces are generally larger and coarser than those used with high-speed units․
Effective use requires understanding the specific attachment’s purpose and maintaining appropriate speed and pressure to avoid tissue damage or instrument breakage․
IV․ Instruments for Periodontal Procedures
Periodontal procedures demand specialized instruments focused on assessing and treating the supporting structures of teeth․ Dental instruments pictures and names PDFs frequently detail scalers and curettes, essential for removing calculus and plaque from both supragingival and subgingival areas․ Scalers are designed for larger deposits, while curettes excel at root planing and removing tenacious calculus․
Periodontal probes are crucial for measuring pocket depths, identifying bleeding points, and assessing furcation involvement – key indicators of periodontal disease․ Accurate readings guide treatment planning and monitor disease progression․
Understanding the angulation and adaptation of these instruments is vital for effective debridement and minimizing trauma to soft tissues․ Proper technique, as illustrated in comprehensive guides, ensures optimal patient outcomes․
A․ Scalers & Curettes
Scalers and curettes represent fundamental tools in periodontal therapy, meticulously designed for removing calculus and plaque․ Dental instruments pictures and names PDFs showcase diverse scaler types – sickle scalers for broad surface removal and universal scalers adapting to various tooth surfaces․ Curettes, with their rounded backs and cutting edges, are ideal for root planing and subgingival debridement․
Different curette designs, like Gracey and Area-Specific curettes, cater to specific tooth anatomy and interproximal spaces․ Understanding blade geometry, angulation, and adaptation is crucial for effective calculus removal without damaging tooth structure․
Proper sharpening maintains instrument efficacy, while correct grip and angulation optimize control and prevent tissue trauma․ Comprehensive guides illustrate proper techniques for utilizing each instrument effectively․
B․ Periodontal Probes
Periodontal probes are indispensable for assessing periodontal health, crucial for diagnosing and monitoring gum disease․ Dental instruments pictures and names PDFs detail probe markings, typically in millimeters, used to measure probing depths – the space between the gum margin and the base of the periodontal pocket․ Accurate measurements are vital for establishing a baseline and tracking treatment progress․
Various probe designs exist, including Williams, Marquis, and UNC-15 probes, each with unique characteristics suited for different clinical scenarios․ Proper probing technique involves walking the probe gently along the tooth surface, maintaining parallelism to the long axis of the tooth․
Understanding bleeding on probing and attachment loss, alongside probing depths, provides a comprehensive evaluation of periodontal status․ Consistent and accurate probing is fundamental to effective periodontal care․
V․ Instruments for Restorative Dentistry
Restorative dentistry relies on specialized instruments for preparing teeth and placing fillings․ Dental instruments pictures and names PDFs showcase tools for both amalgam and composite restorations․ Amalgam instruments, traditionally used for silver fillings, include hatchets, spoons, and condensers, designed for carving and packing the material․
Composite instruments, used with tooth-colored fillings, feature a different array of shapes․ These include instruments for shade matching, placement, contouring, and polishing the composite resin․ Understanding the function of each instrument is crucial for achieving optimal aesthetic and functional results․
Proper instrument selection and technique are paramount for successful restorations, ensuring proper adaptation, marginal integrity, and longevity of the filling․ Careful attention to detail is key․
A․ Amalgam Instruments
Amalgam instruments are specifically designed for manipulating and condensing amalgam alloy, a traditional dental filling material․ Dental instruments pictures and names PDFs clearly illustrate these tools․ Key instruments include the hatchet, used for initial carving and removing excess amalgam; spoons, for bulk condensation; and condensers, available in various shapes (wheel, plugger, etc․) to pack the amalgam tightly into the prepared cavity․
Carvers refine the shape and contours of the restoration, while burnishers smooth the surface․ Instrument design focuses on strength and durability to withstand the force needed for condensation․ Proper technique, utilizing correct angles and pressure, is vital for achieving a dense, well-adapted restoration․
Understanding each instrument’s purpose ensures optimal amalgam placement and longevity․
B․ Composite Instruments
Composite instruments are tailored for handling resin-based composite materials, a tooth-colored restorative option․ Dental instruments pictures and names PDFs showcase these specialized tools․ Instruments include composite instruments, designed for layering and sculpting the composite material; anterior and posterior composite instruments, differing in blade shapes for specific tooth surfaces; and condensers, used to adapt the composite to the cavity walls․
Unlike amalgam, composite requires precise placement and light curing․ Instruments often feature thin, flexible blades for delicate manipulation․ Carvers refine contours, and burnishers smooth the surface before polymerization․ Maintaining instrument cleanliness is crucial to prevent contamination and ensure proper composite setting․
Skillful use of these instruments results in aesthetically pleasing and durable restorations․
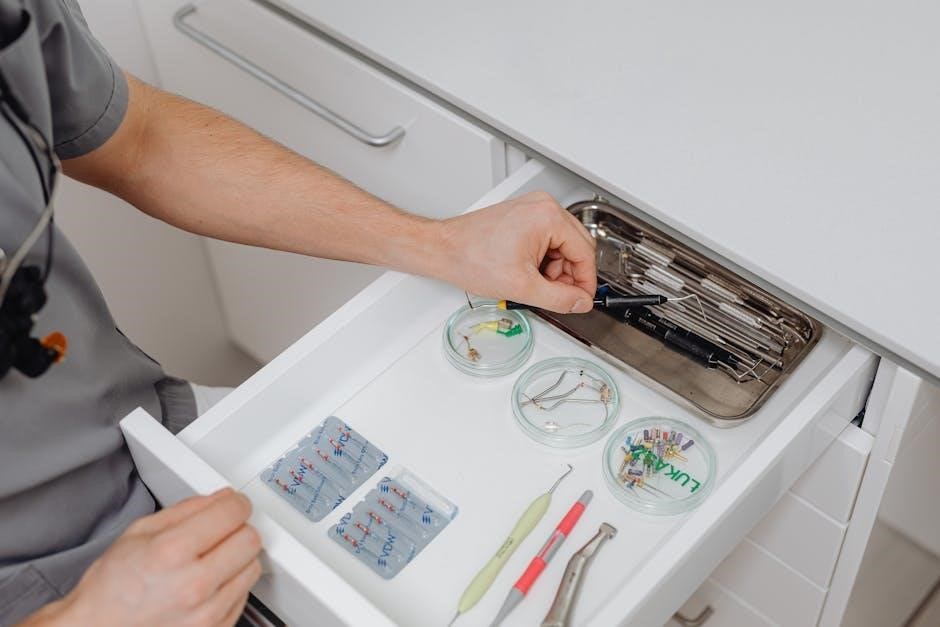
VI․ Endodontic Instruments
Endodontic instruments are specifically designed for root canal procedures, focusing on cleaning, shaping, and filling the root canal system․ Dental instruments pictures and names PDFs detail these specialized tools․ Key instruments include files and reamers, used to navigate and enlarge the canal space; spreaders, which condense gutta-percha (the filling material) laterally; and pluggers, employed to vertically condense gutta-percha for a dense fill․
These instruments come in various tapers and lengths, often color-coded for easy identification․ Precise instrument control is vital to avoid canal perforation or blockage․ Modern endodontics also utilizes rotary instruments for efficient shaping․ Accurate length determination is crucial before obturation․
Successful endodontic treatment relies on meticulous technique and appropriate instrument selection․
A․ Files & Reamers
Files and reamers are fundamental endodontic instruments utilized for cleaning and shaping root canals․ Dental instruments pictures and names PDFs clearly illustrate their distinct designs․ Files typically possess a triangular or square cross-section, efficiently removing dentin during a push-and-rotary motion․ Reamers, conversely, have a tapered, cutting-edge design, excelling at initial canal negotiation and creating a glide path․
These instruments are available in varying tapers (e․g․, #15, #20, #25) and lengths, indicated by color-coding for quick identification during procedures․ Stainless steel is a common material, though nickel-titanium (NiTi) files offer increased flexibility and conformability to curved canals․
Proper file and reamer technique minimizes the risk of canal transportation or perforation, ensuring optimal treatment outcomes․
B․ Spreaders & Pluggers
Spreaders and pluggers are crucial endodontic instruments employed during obturation – the filling of the root canal space․ Dental instruments pictures and names PDFs demonstrate their differing functionalities․ Spreaders, typically made of stainless steel, condense gutta-percha laterally against the canal walls, ensuring complete filling and eliminating voids․ They come in various tapers to match the canal preparation․
Pluggers, also used with gutta-percha, vertically condense the material apically, creating a dense, homogenous fill․ They feature a flat, rounded tip designed to compact the gutta-percha without forcing it beyond the apex․
Correct spreader and plugger technique is vital for achieving a hermetic seal, preventing bacterial re-infection and ensuring long-term endodontic success․ Careful selection based on canal anatomy is key․
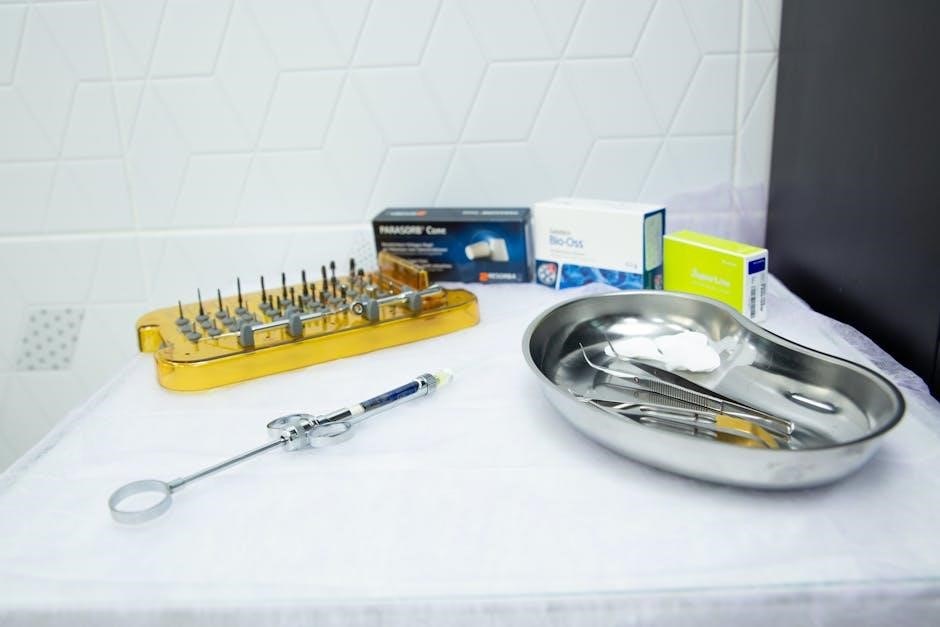
VII․ Surgical Instruments
Surgical instruments are essential for more complex dental procedures, particularly extractions․ Dental instruments pictures and names PDFs clearly illustrate these tools․ Extraction forceps are designed to grasp and luxate (loosen) teeth, utilizing angled beaks to conform to the root’s shape․ Different forceps types exist for various tooth positions and complexities – universal, molar, and surgical forceps are common․
Elevators, conversely, are used to section teeth or to gently lift them from the socket after sufficient loosening with forceps․ They come in various shapes – straight, curved, and angled – to access different areas․
Proper technique and instrument selection minimize trauma and ensure efficient, safe tooth removal․ Understanding the specific design of each instrument is paramount for successful surgical outcomes․
A․ Extraction Forceps
Extraction forceps are fundamental surgical instruments, specifically designed for tooth removal․ Dental instruments pictures and names PDFs showcase the variety available․ These forceps utilize a beak-and-handle system to grasp and luxate teeth, initiating the extraction process․ Universal forceps are versatile, suitable for many teeth, while molar forceps feature wider beaks for larger molars․
Surgical forceps, often with a longer and more angled design, access difficult-to-reach teeth․ The beaks are contoured to fit around the tooth root, providing a secure grip․ Proper selection, based on tooth type and position, is crucial․
Forceps must be carefully applied to avoid fracturing the tooth or damaging surrounding tissues․ Understanding the specific design and appropriate usage of each type is essential for safe and effective extractions․
B․ Elevators
Dental elevators are essential surgical instruments used to luxate and loosen teeth before extraction, complementing the function of extraction forceps․ Dental instruments pictures and names PDFs illustrate the different types available․ These instruments are inserted into the periodontal space to sever the fibers attaching the tooth to the alveolar bone․
Various elevator designs exist, including straight elevators, angled elevators (like Coupland’s or Cryer’s), and apical elevators․ Straight elevators are used for initial luxation, while angled elevators access difficult areas․ Apical elevators focus on the root apex․
Careful and controlled application of elevators minimizes trauma to surrounding tissues․ Understanding the correct technique and selecting the appropriate elevator type are vital for a successful and atraumatic extraction procedure․
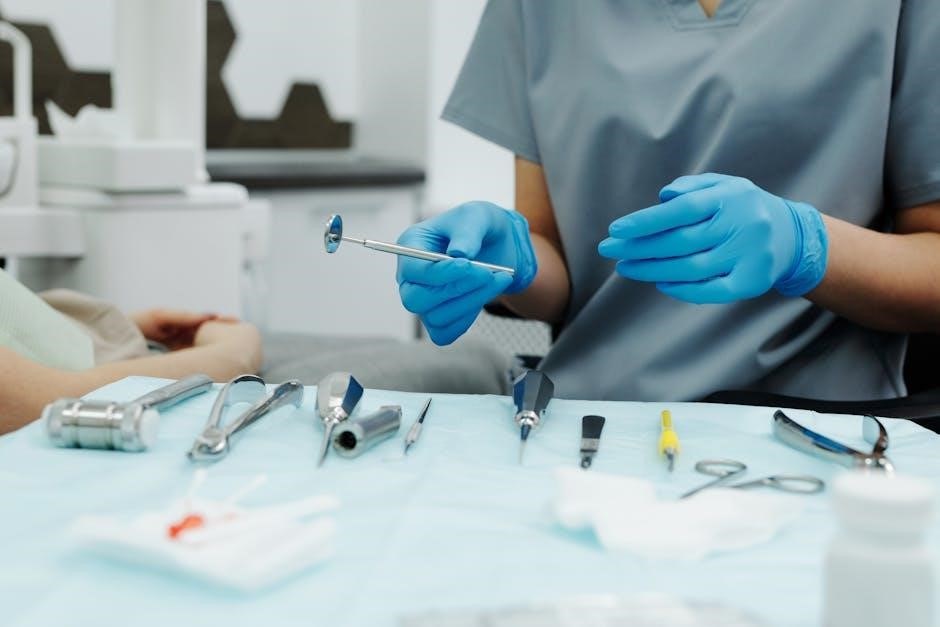
VIII․ Diagnostic Instruments
Accurate diagnosis relies on specialized instruments, prominently featuring radiography equipment and intraoral cameras․ Dental instruments pictures and names PDFs often detail these tools․ Digital X-ray units, particularly those RVG (RadioVisioGraphy) compatible, provide immediate, high-resolution images, reducing radiation exposure compared to traditional film․
Intraoral cameras offer a magnified view of the oral cavity, aiding in detecting caries, fractures, and soft tissue abnormalities․ These cameras allow dentists to show patients visual evidence of their oral health conditions, enhancing understanding and treatment acceptance․
Proper calibration and maintenance of diagnostic equipment are crucial for reliable results․ These instruments are fundamental for comprehensive dental examinations and treatment planning, ensuring optimal patient care․
A․ Radiography Equipment (RVG Compatible)
Radiography is pivotal in dental diagnostics, and RVG (RadioVisioGraphy) compatible systems represent a significant advancement․ Dental instruments pictures and names PDFs frequently showcase these units․ Unlike traditional film-based methods, RVG utilizes digital sensors to capture X-ray images instantly, displaying them directly on a computer screen․
This technology drastically reduces radiation exposure for patients – often by up to 80% – while providing superior image quality․ RVG systems enhance diagnostic accuracy, allowing dentists to identify subtle caries, periapical lesions, and bone loss with greater precision․
Components include the X-ray generator, a digital sensor, and processing software․ Regular quality control checks are essential to ensure optimal performance and patient safety․ These systems are indispensable for comprehensive dental assessments;
B․ Intraoral Cameras
Intraoral cameras are vital for modern dental practice, frequently featured in dental instruments pictures and names PDFs․ These compact devices allow dentists to capture high-resolution images and videos of the oral cavity, providing a detailed view of teeth, gums, and surrounding tissues․ This visual aid significantly enhances patient communication and understanding of their dental conditions․
Dentists can easily demonstrate areas of concern, such as cavities, fractures, or inflammation, directly to patients on a monitor․ Intraoral cameras also aid in accurate diagnosis and treatment planning․ Images can be stored digitally for record-keeping and future reference․
Many systems offer magnification capabilities, revealing details not visible to the naked eye․ They contribute to improved patient education and a more collaborative approach to dental care․
IX․ Auxiliary Instruments
Auxiliary instruments are crucial support tools often detailed in comprehensive dental instruments pictures and names PDFs․ These encompass a range of items that enhance efficiency and precision during dental procedures․ Suction devices, for example, are indispensable for maintaining a clear operating field by removing saliva, blood, and debris․ Different types exist, including high-volume evacutors and surgical suction․
Articulating paper and holders are essential for evaluating occlusal contacts, ensuring proper bite alignment․ These papers come in various colors and thicknesses, allowing dentists to identify areas requiring adjustment․ Proper use of these tools is vital for restorative and prosthetic dentistry․
These seemingly minor instruments play a significant role in the overall success and quality of dental treatment․
A․ Suction Devices
Suction devices are fundamental for clear visibility during dental procedures, frequently illustrated in dental instruments pictures and names PDFs․ These instruments remove fluids – saliva, blood, and debris – creating a dry operating field․ Dental chairs often integrate motorized suction, a primary component for efficient fluid evacuation․ Different types cater to specific needs․
High-volume evacuators (HVE) provide powerful suction, ideal for procedures generating significant fluid․ Surgical suction offers even greater suction capacity for more complex surgeries․ Saliva ejectors, smaller and less powerful, remove pooled saliva․ Proper suction technique minimizes aerosol production and enhances patient comfort․
Understanding the nuances of each suction device is crucial for effective dental practice, often detailed within comprehensive instrument guides․
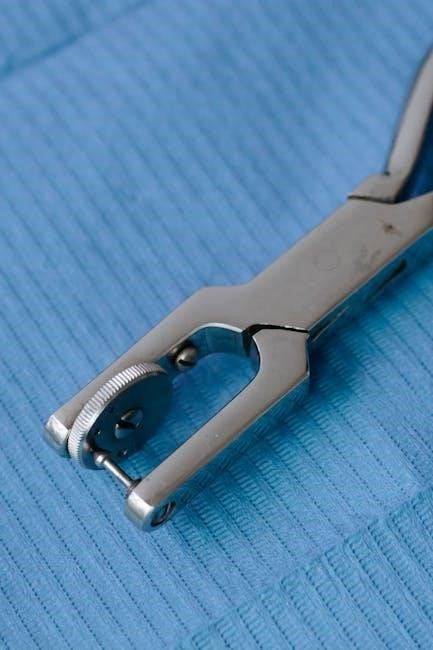
B․ Articulating Paper & Holders
Articulating paper is a diagnostic tool frequently depicted in dental instruments pictures and names PDFs, used to evaluate occlusal contacts – how teeth come together when biting․ It’s a thin, colored paper that marks areas of heavy contact when the patient occludes․ These markings reveal high spots needing adjustment during restorative procedures or orthodontic treatment․
Various types exist, differing in thickness and color, catering to specific clinical needs․ Holders are essential for precise paper placement, ensuring accurate contact registration․ They facilitate controlled application and prevent contamination․ Proper use requires careful patient instruction to achieve consistent and representative occlusal forces․
Detailed guides often illustrate correct application techniques and interpretation of markings, vital for achieving optimal occlusal harmony․
X․ Instrument Materials and Sterilization
Dental instruments, as shown in comprehensive pictures and names PDFs, are crafted from diverse materials like stainless steel, titanium alloys, and polymers, each chosen for specific properties – durability, corrosion resistance, and biocompatibility․ Understanding these materials is crucial for proper maintenance and sterilization․
Sterilization is paramount to prevent cross-contamination․ Common methods detailed in instrument guides include autoclaving (steam sterilization), chemical sterilization, and dry heat sterilization․ Autoclaving is widely preferred for its effectiveness against a broad spectrum of microorganisms․
Proper cleaning, packaging, and monitoring of sterilization cycles are essential․ Instrument manufacturers’ guidelines must be followed meticulously to ensure instrument longevity and patient safety․ Regular maintenance and inspection for wear and tear are also vital components of instrument management․